From Carbon Fibre to Complex Tools
After we have milled the polyurethane blocks according to the desired CAD model and ground them to the desired surface roughness, we begin with the tool production. Here we use the vacuum infusion process to produce negative molds from carbon, which later serve as tools for the prepreg and thus for the finished components. (Prepreg is already pre-impregnated carbon fiber fabrics with resin.)
For the manufacturing of the tools we work with dry fibers and mix the required amount of resin ourselves.
In the first step, however, it is important to separate our positive molds well so that we can separate the two molds again after curing.
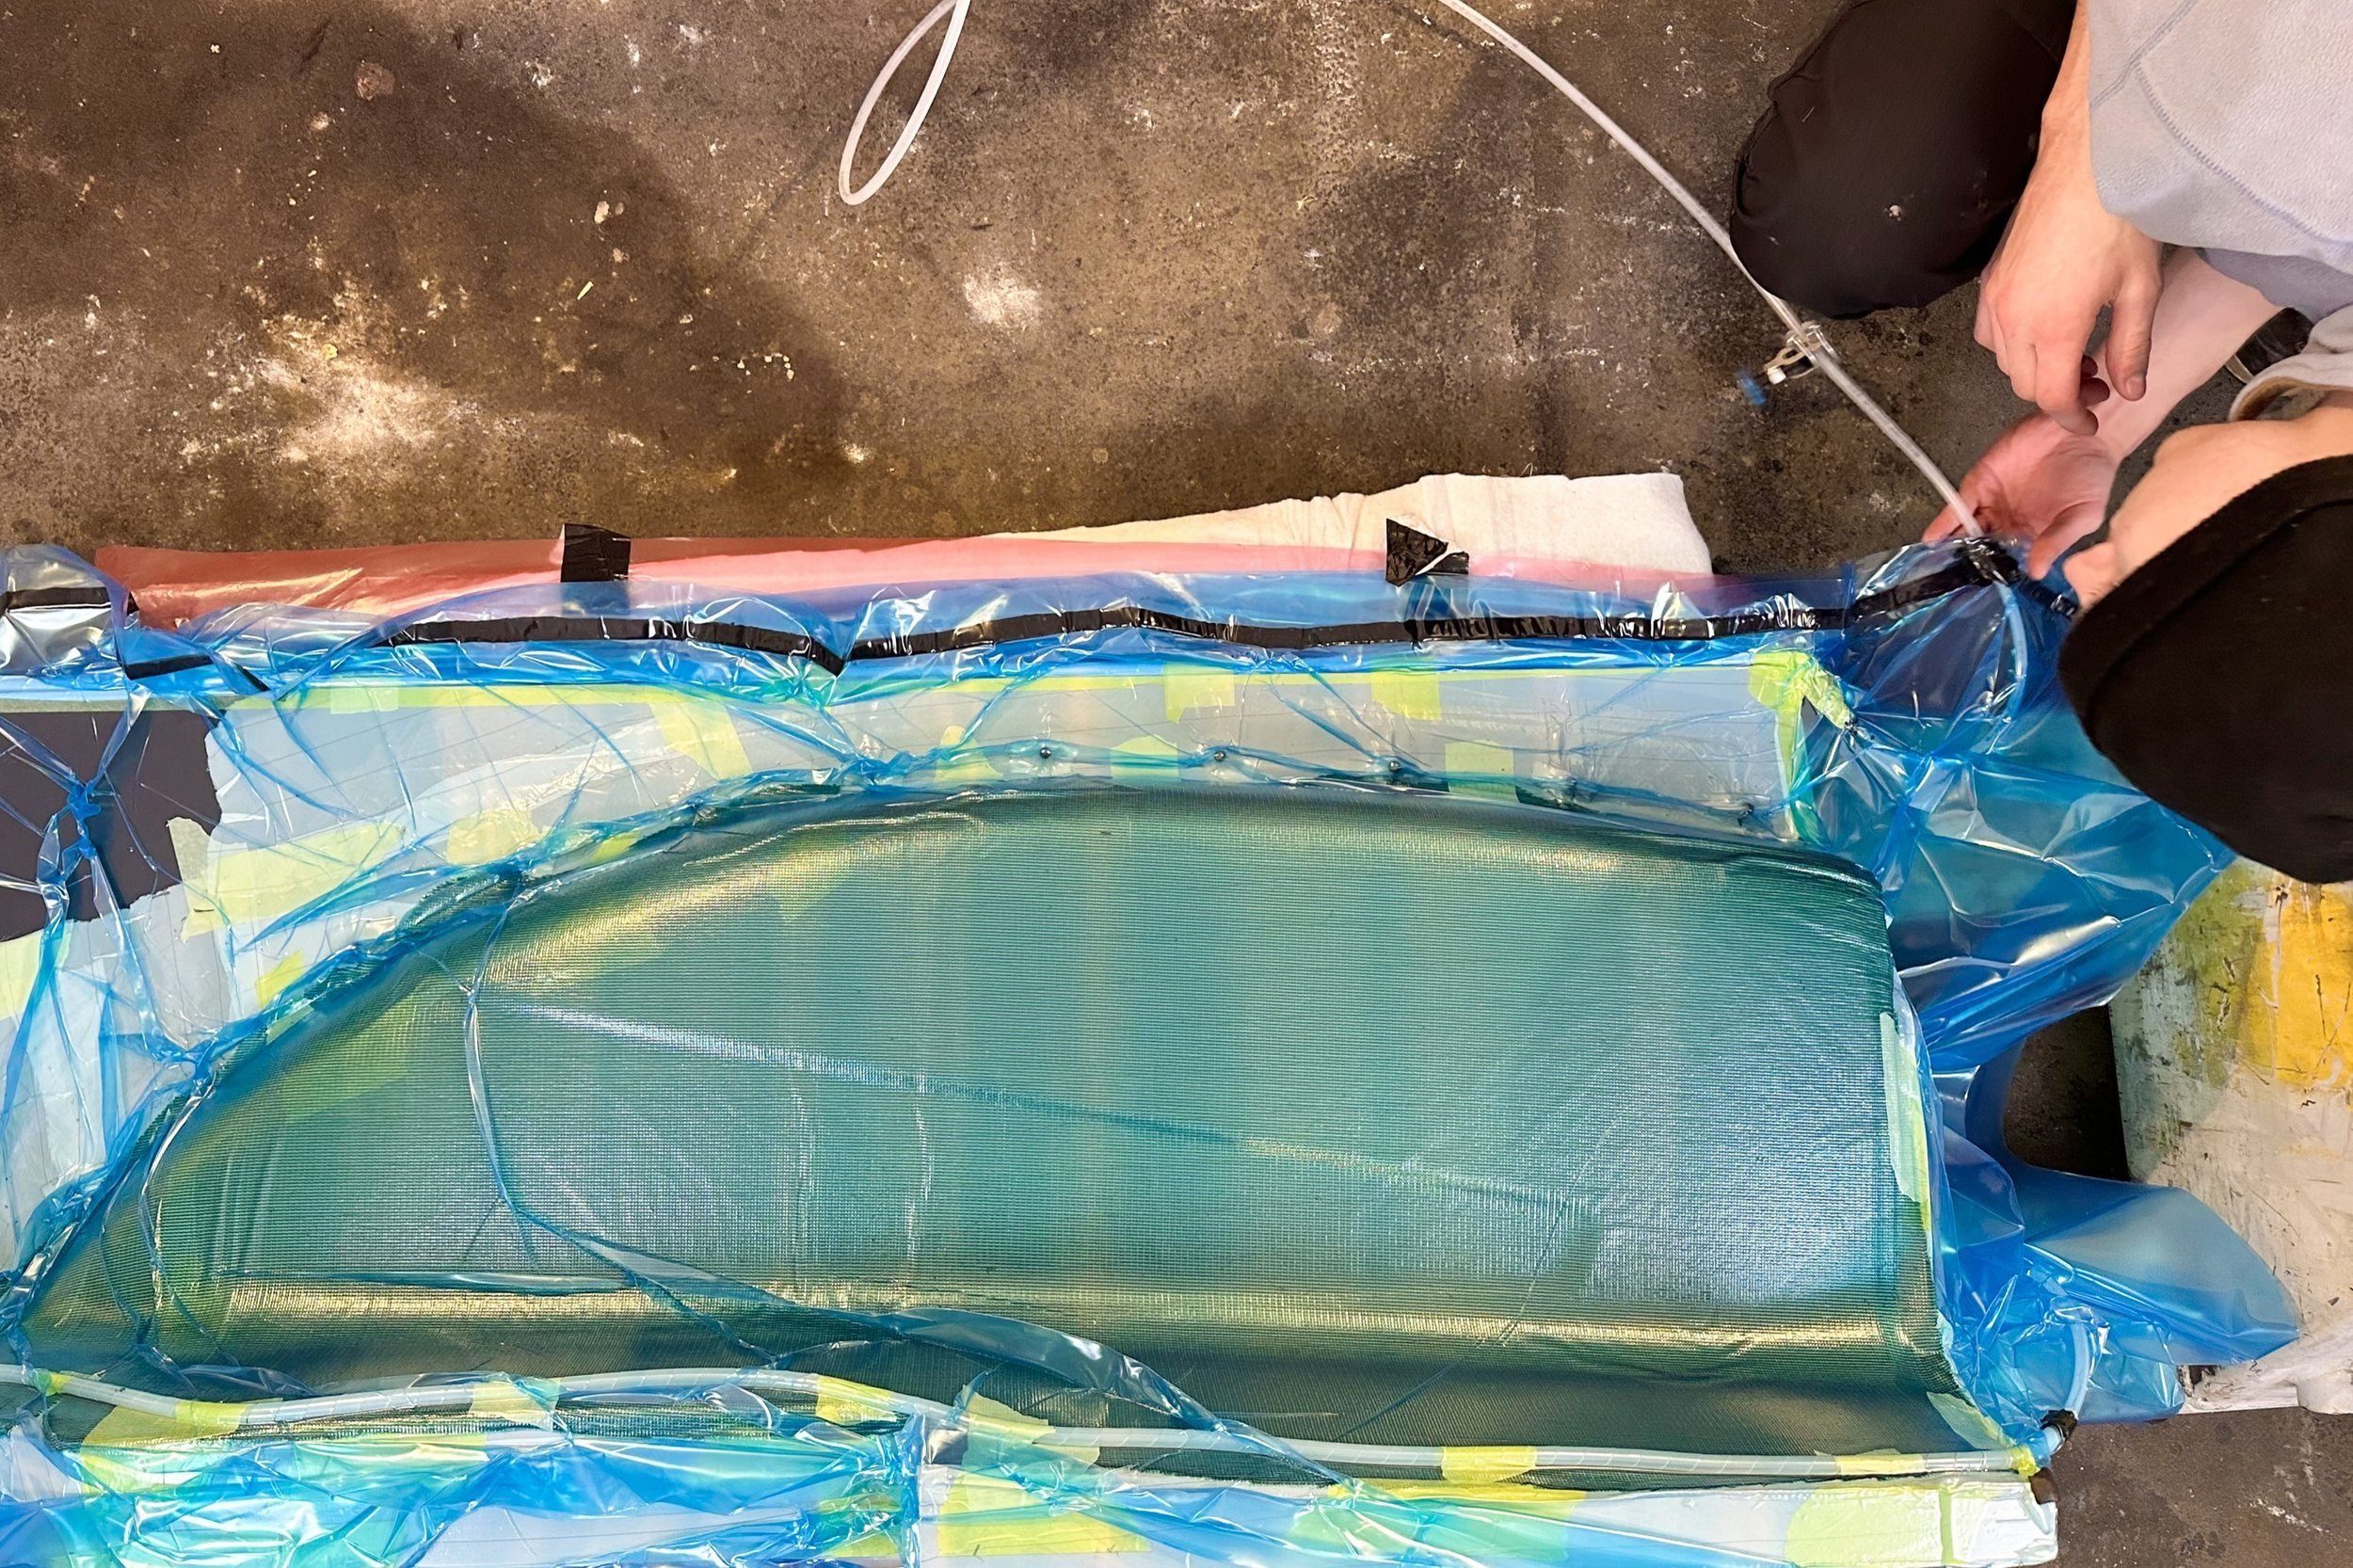
Then we start with the carbon lay-up. Here we lay up to 12 layers of carbon fabric on top of each other and press them onto our mold. We lay these fabrics on our component with alternating orientation (±90° or ±45° fiber orientation) to obtain isotropic properties later. The top layers of the layup are the peel ply (white) and the flow aid (green) so that the flow aid can be removed from the mold after curing and the resin can flow everywhere.


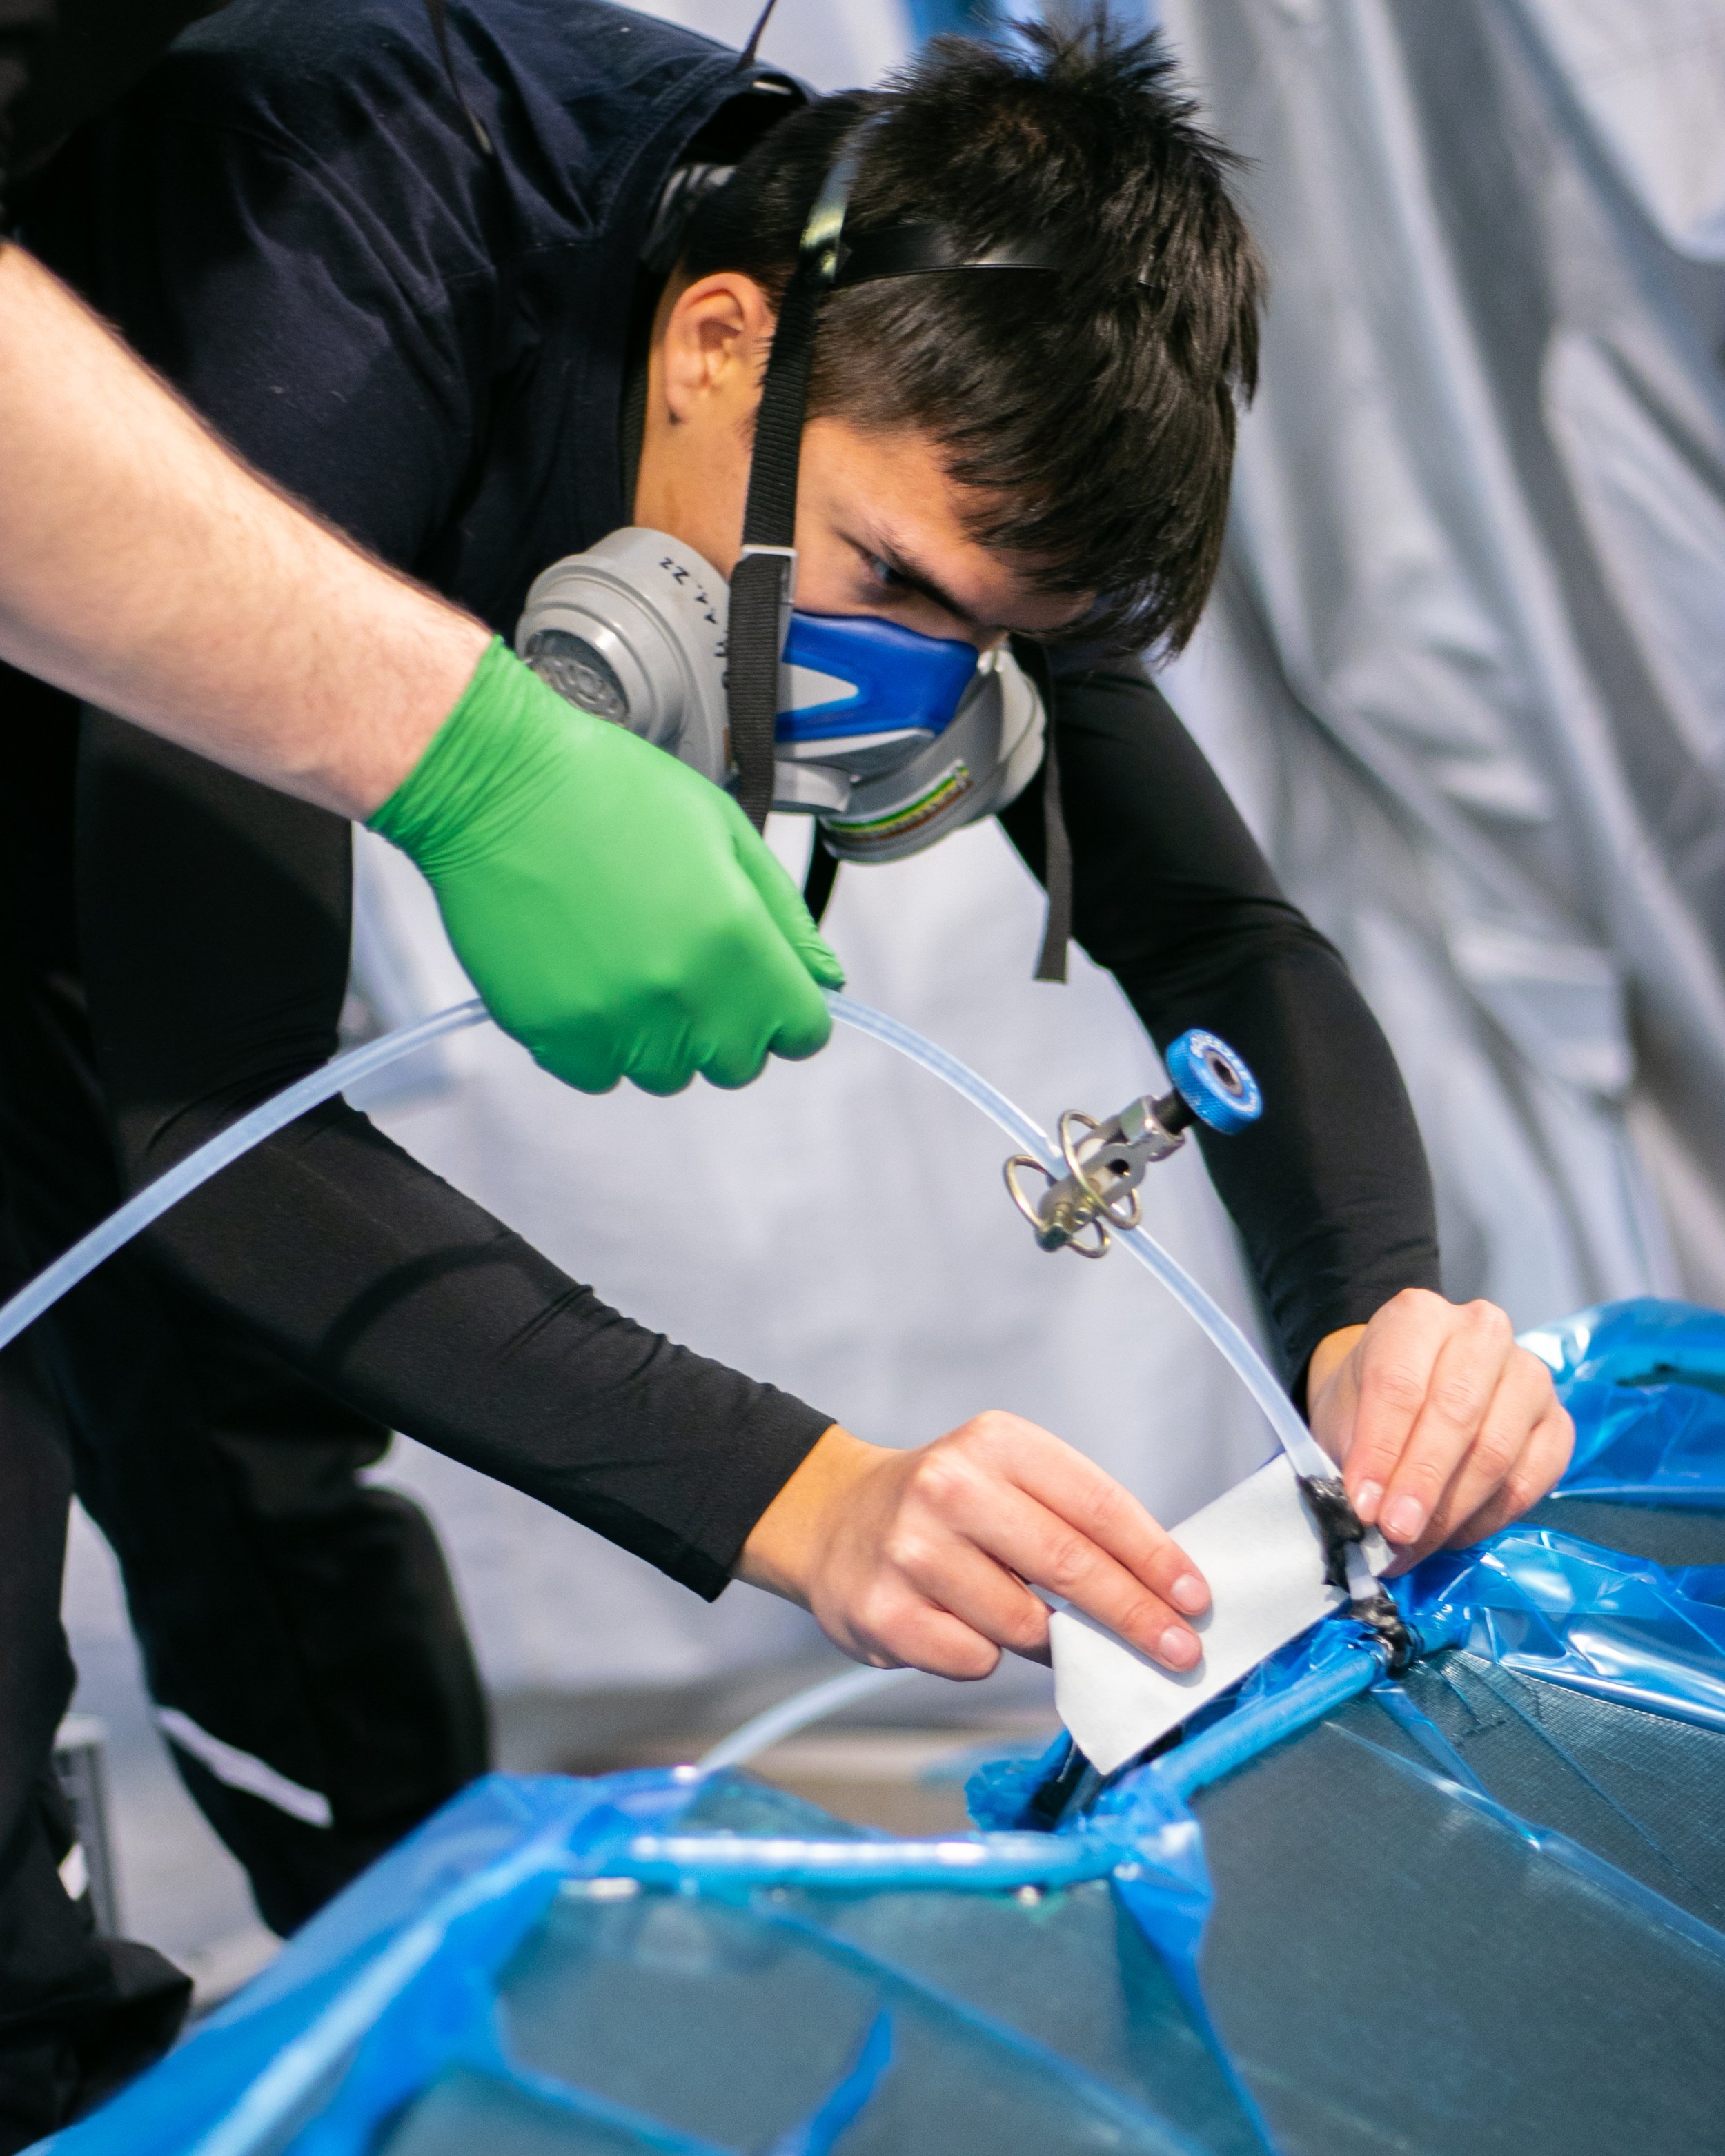
After packing the part in a vacuum bag, we tighten the vacuum and let the calculated resin mixture flow through the carbon. After a few hours, all areas are flowed through, and we cure the whole thing for four hours at 60°. Finally, our tool is ready!
Now it's time to screw the individual parts together to make larger tools to be placed together in the autoclave for post-curing. Here the mold is exposed to high temperatures so that the resin can reach its full strength.
Not all tools work straight away, more complex tools need to be reworked with putty. Therefore, this production must be repeated until the desired quality is achieved.

Nachdem wir die Polyurethan-Blöcke nach dem gewünschten CAD-Modell gefräst und auf die gewünschte Oberflächenrauheit geschliffen haben, beginnen wir mit der Werkzeugherstellung. Hier stellen wir im Vakuuminfusionsverfahren aus Carbon Negativformen her, die später als Werkzeuge für das Prepreg und somit für die fertigen Bauteile dienen. (Prepreg sind bereits vorimprägnierte Carbonfasergelege mit Harz.)
In diesem Arbeitsschritt arbeiten wir mit trockenen Fasern und mischen uns die benötigte Menge an Harz selbst zusammen.
Im ersten Schritt ist es aber wichtig, unsere Positivformen gut zu einzutrennen, damit wir nach dem Aushärten beide Formen wieder voneinander trennen können.
Danach beginnen wir mit dem Carbon-Layup. Hier legen wir bis zu 12 Lagen Carbongewebe übereinander und pressen diese auf unsere Form. Diese Gewebe legen wir mit wechselnder Ausrichtung (±90° bzw. ±45° Faserausrichtung) auf unser Bauteil, um später isotrope Eigenschaften zu erhalten. Die obersten Schichten des Layups sind dann das Abreißgewebe (weiß) und die Fließhilfe (grün), damit erstens die Fließhilfe nach dem Aushärten wieder aus dem Werkzeug entfernt werden und zweitens das Harz überall hinfließen kann.
Nachdem wir das Bauteil in eine Vakuumtüte gepackt haben, ziehen wir das Vakuum an und lassen die berechnete Harzmischung durch das Carbon fließen. Nach einigen Stunden sind alle Bereiche durchflossen und wir härten das Ganze vier Stunden bei 60° aus. Fertig ist unser Werkzeug!
Jetzt ist es soweit, wir schrauben die Einzelteile zu größeren Werkzeugen zusammen, damit diese dann zusammen in den Autoklaven zur Nachhärtung können. Hier wird die Form hohen Temperaturen ausgesetzt, damit das Harz seine volle Festigkeit erreichen kann.
Nicht alle Teile funktionieren auf Anhieb und vor allem komplexere Teile müssen mit Spachtelmasse nachbearbeitet werden. Daher muss diese Herstellung so oft wiederholt werden, bis die gewünschte Qualität erreicht ist.